DIY Seiko 7S26 · Chapter 13 of 14
Chapter 13
Master Watchmaker, Clockmaker and Jeweller (since 1981)

nick@clockmaker.com.au
Suite 403, Level 4, Culwulla Chambers
67 Castlereagh St. Sydney 2000 NSW Australia
Phone: (02) 9232 0500 Fax: 02 9233 2273

Do It Yourself Project: Seiko 7S26 for Novice Horologists
| Chapter 13: Assembly
In this chapter we will commence assembly of our Seiko 7S26 movement. Please have your Seiko manual handy! Note: Before the assembly, all metal components should be cleaned then checked for wear. Worn components would have to be replaced. Components are then lubricated, assembled and the mechanism is adjusted for time keeping. However, since the purpose of this tutorial is to get familiar with the inner workings of the movement - rather than to overhaul the watch - we will use the "dry cleaning" method. (Proper cleaning method will be explained in the later chapters). As most DIY members are working on a brand new Seiko 7S26, we can safely assume that all parts are still in 'factory new' condition.
To clean the main plate and other components before lubrication and assembly, use a Bergeon rodico gum. It is important that the gum is 'fresh' (not contaminated with lubricants) and has good elasticity.
Clean any fluff, dust, fiber, fingerprints, dirt or old lubricant with the gum. All components must be as clean and shiny as practically possible.
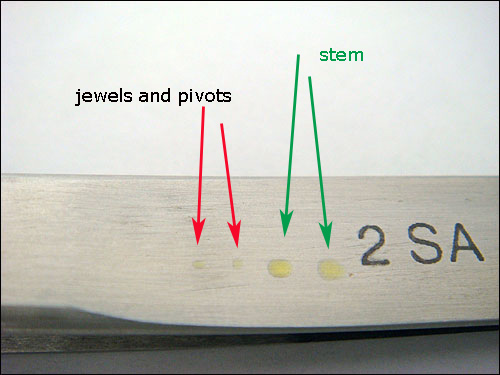
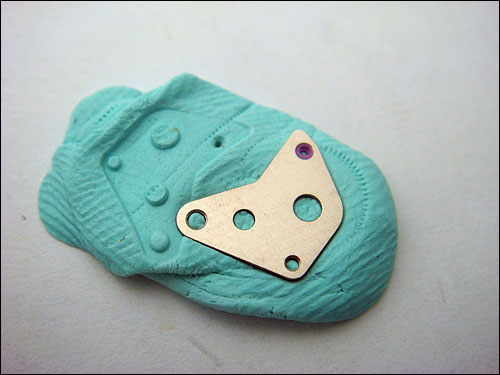
Lubrication Lubrication is an art form! It takes a fair bit of practice and experience to learn how to apply the "right" amount of lubricant or oil. It is very difficult to explain or even show what the right amount of lubricant is, because this is dependent on the component, its purpose or function, size, contact area between two components, etc. As a general rule, the purpose of oil is to reduce friction between the two moving parts. Due to the size of watch components, it is absolutely crucial not to apply too much oil. But "not enough" oil is equally inappropriate. Both extremes will cause excessive wear and degradation in performance. The photo below shows the two "dots" or amount of oil required for lubrication of jewels. Quantity of oil required to lubricate large moving parts like stem or setting lever are shown on the right.
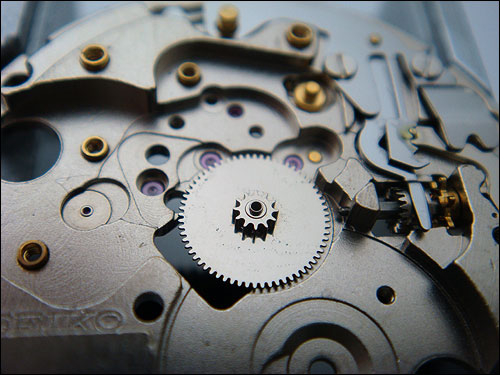
Next photo shows correctly applied lubricant / oil on the intermediate wheel 0962 008.
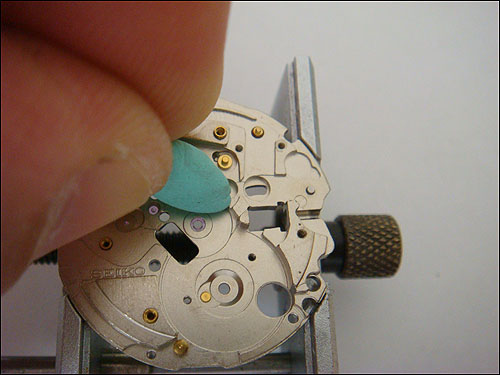
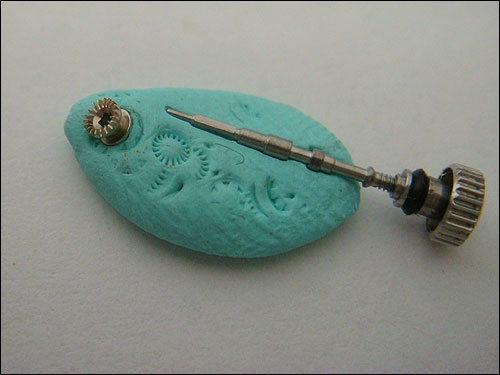
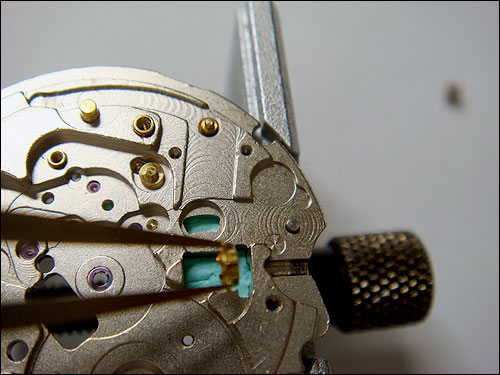
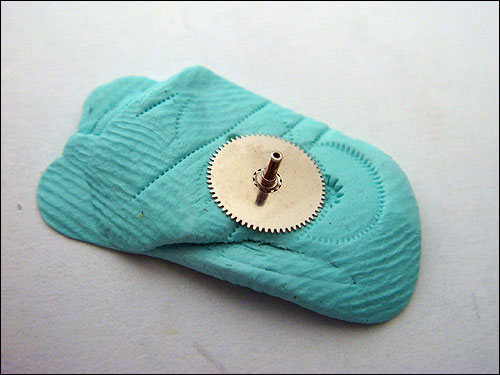
NOTE: Refer to Seiko 7S26 technical guide for lubrication details (lubrication chart). Pay attention to oil type and oil quality marks. Assembly We will start the assembly of 7S26 with its winding stem and associated components. Stick a small patch of gum underneath the main plate to block the cutouts in / around the stem area.
Oil intermediate wheel and place it as per photo.
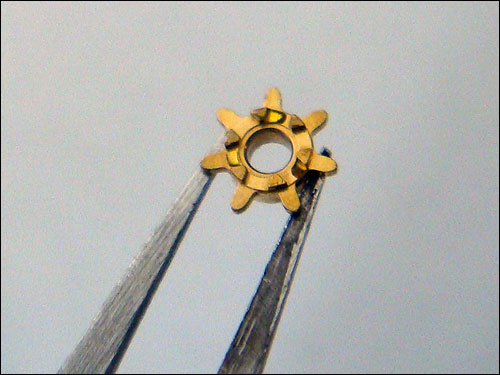
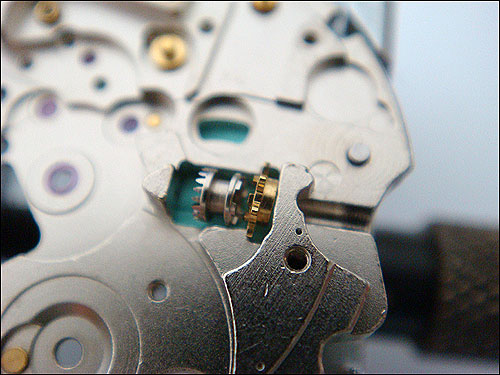
Place clutch wheel 0282 070 as shown. Pay attention to orientation.
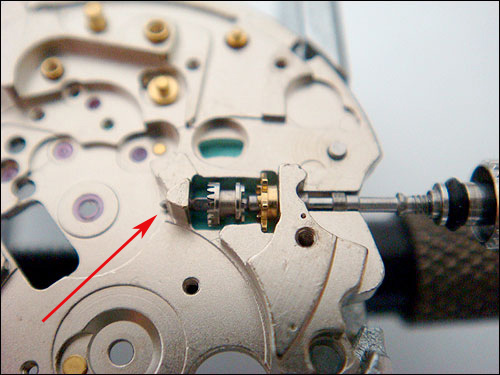
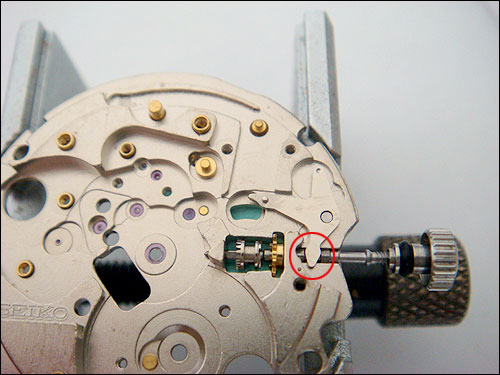
Lubricate winding stem 0351 260 and insert it in the main plate then through both wheels. If necessary, turn while inserting, all the way until the tip of the stem portrudes in the main plate (see photo). Insert the stem gently, ensuring all components are aligned properly.
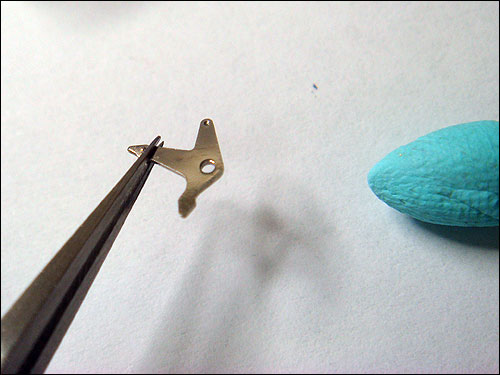
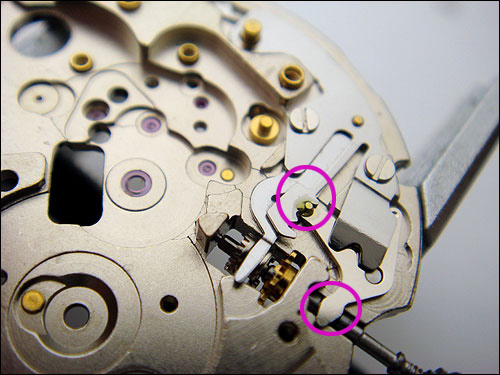
Place the setting lever 0383 070 with the tip engaging with the stem.
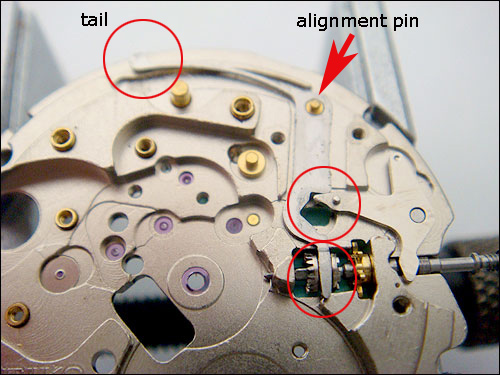
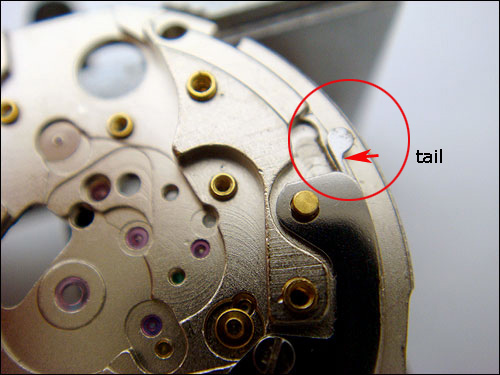
Place the yoke (hole in alignment pin) as per photo. Note the engagement with the setting lever and clutch wheel. At this stage, leave the tail end of the yoke to rest on the main plate, without any tension.
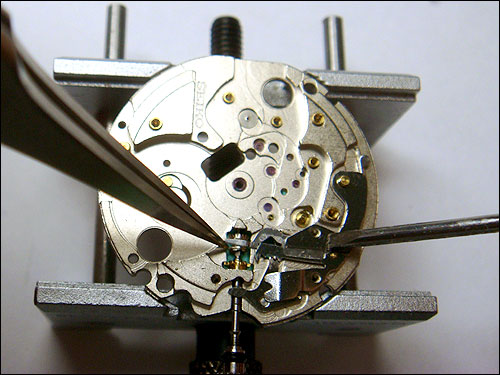
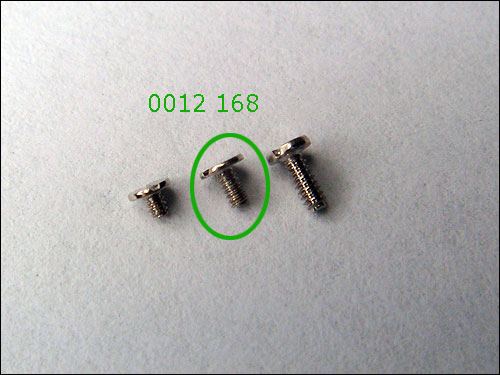
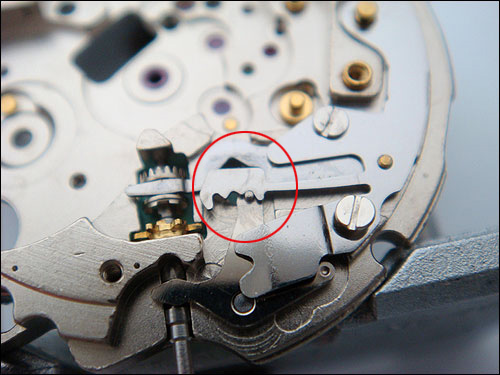
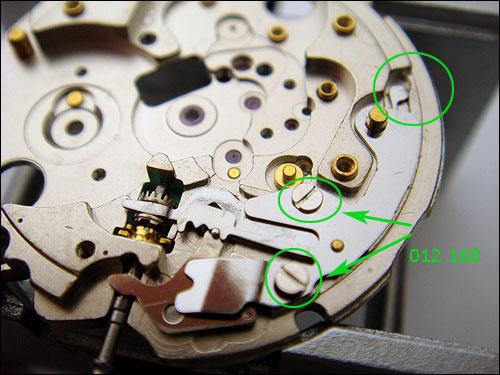
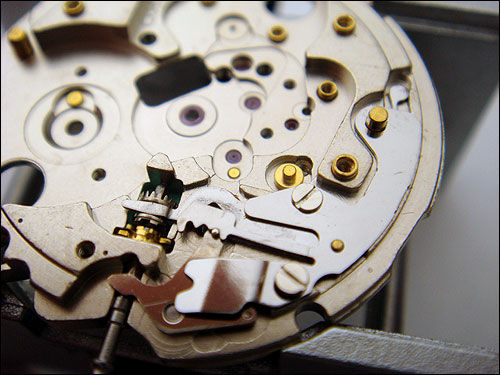
Place the yoke spring 0388 177 over the yoke. Hold it in place with a screwdriver. Insert both yoke spring screws [0012 168] and tighten them 3/4 way down into the main plate. While still holding the yoke spring down, engage it with the setting lever pin as per photo.
Put tension on the yoke's tail, as per photo. Now tighten both crews. Once again check for alignment.
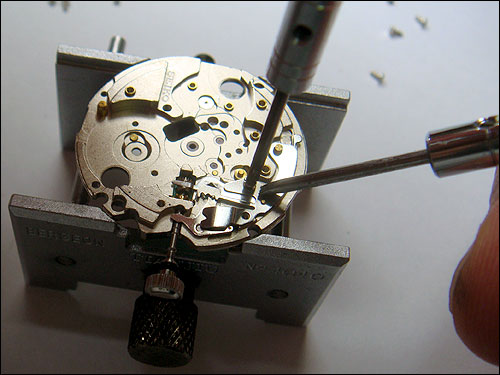
Apply lubricant and check the functioning of stem. Remove rodico patch form underneath the board and pull the stem in and out few times. Each stem position [0, 1, 2] must feel distinctive.
|
|
Previous Chapter | Home | Next Chapter
|